
The Most Common Mistakes People Make With DIY Window Tint Kits
DIY window tint kits promise a sleek, privacy-enhancing solution at a fraction of the price of professional installations. However, they often come with a hidden cost: mistakes that range from mildly annoying to legally problematic. In this guide, we’ll dive deep into the most common mistakes people make with DIY window tint kits, so you can steer clear and tint your ride like a seasoned pro.
What is a DIY Window Tint Kit?
DIY window tint kits are pre-packaged solutions allowing vehicle owners to tint their windows at home. These kits typically include pre-cut film (or rolls you cut yourself), a squeegee, spray bottle, and cutting tool. They seem foolproof, but that's rarely the case in practice.
Because tinting requires a balance of patience, precision, and prep, any shortcuts or oversights can quickly turn a simple project into a tinted nightmare. Hence, even the best kits in untrained hands can fall short of a professional finish.
Why Are DIY Kits So Popular?
There's no denying that cost is the main driver. Professional window tinting services can range anywhere from $100 to $500 depending on the vehicle, tint type, and number of windows. In contrast, a DIY kit costs $20–$60. That’s a tempting tradeoff—until you realize how much can go wrong.
Other reasons include:
- Flexibility – Do it at your own pace.
- Learning experience – Enthusiasts love taking on car mods themselves.
- Availability – Easy to find online or at auto parts stores.
Yet, it’s important to remember: convenience doesn’t guarantee results.
Pros and Cons of DIY Tinting
Pros Cons
Affordable upfront cost Higher chance of application errors
Self-paced installation Limited lifespan if applied incorrectly
Customizable kits available No warranty in most cases
Sense of accomplishment No recourse for legal issues or damages
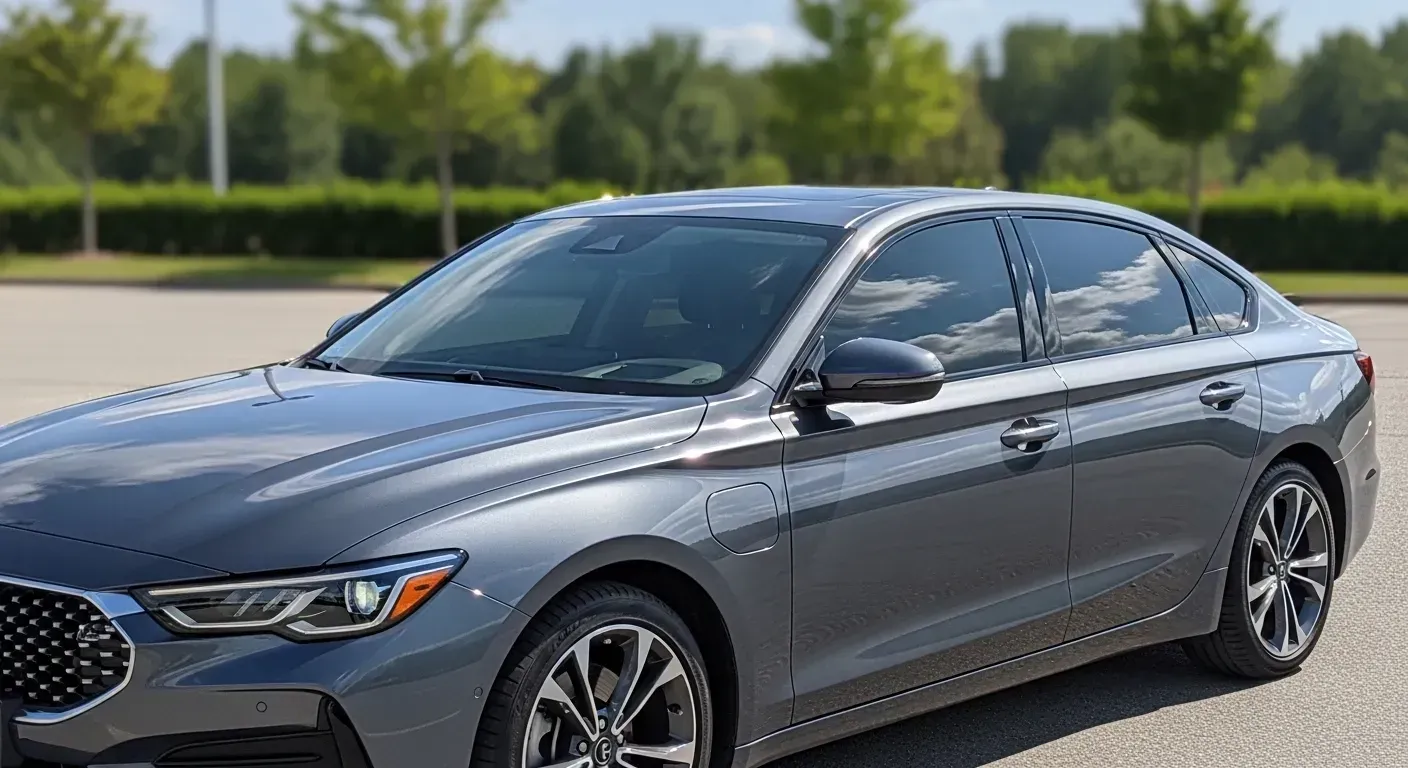
Understanding Local Tint Laws
Before you even purchase a kit, research your state or country’s tint laws. Every region has regulations governing tint darkness (VLT - Visible Light Transmission), reflectivity, and which windows can be tinted.
For example, in many U.S. states, front side windows must allow more light in than rear windows. Failure to comply can lead to citations or forced removal of the tint.
Mistake #1: Skipping legal research leads to fines, vehicle inspections, or worse—denied insurance claims.
Selecting the Right Tint Film Type
Not all tint films are created equal. DIY kits offer:
- Dyed Film – Cheapest, fades over time.
- Metalized Film – Reflective, interferes with electronics.
- Ceramic Film – Premium option with excellent heat and UV rejection.
Choosing the wrong film means:
- Poor performance
- Reduced visibility
- Risk of peeling
A great starting point for most beginners is a non-reflective dyed film that is easier to work with, albeit less durable.
Cleaning Your Windows Properly Before Application
Dirty windows are your enemy. Every speck of dust, lint, or oil will be trapped under the tint, forming bubbles and blurs.
Solution: Use a mix of baby shampoo and distilled water, along with a lint-free cloth or microfiber towel. Avoid ammonia-based cleaners—they degrade tint.
Mistake #2: Applying tint to unclean or greasy glass nearly always guarantees bubbling and peeling.
Tools You’ll Actually Need
Most kits lack the proper tools for a professional result. Essential items include:
- Heat gun
- Precision knife
- Squeegee with felt edge
- Spray bottle (for slip solution)
- Hard card for edge sealing
Without these, you're handicapped before you even begin.
Applying Tint in Poor Lighting or Dirty Environment
Think garage—not driveway. You need a clean, wind-free, dust-free space. Natural light helps, but direct sunlight speeds up drying before you can position the film.
Mistake #3: Tinting outside on a windy day can introduce dust and ruin film adhesion instantly.
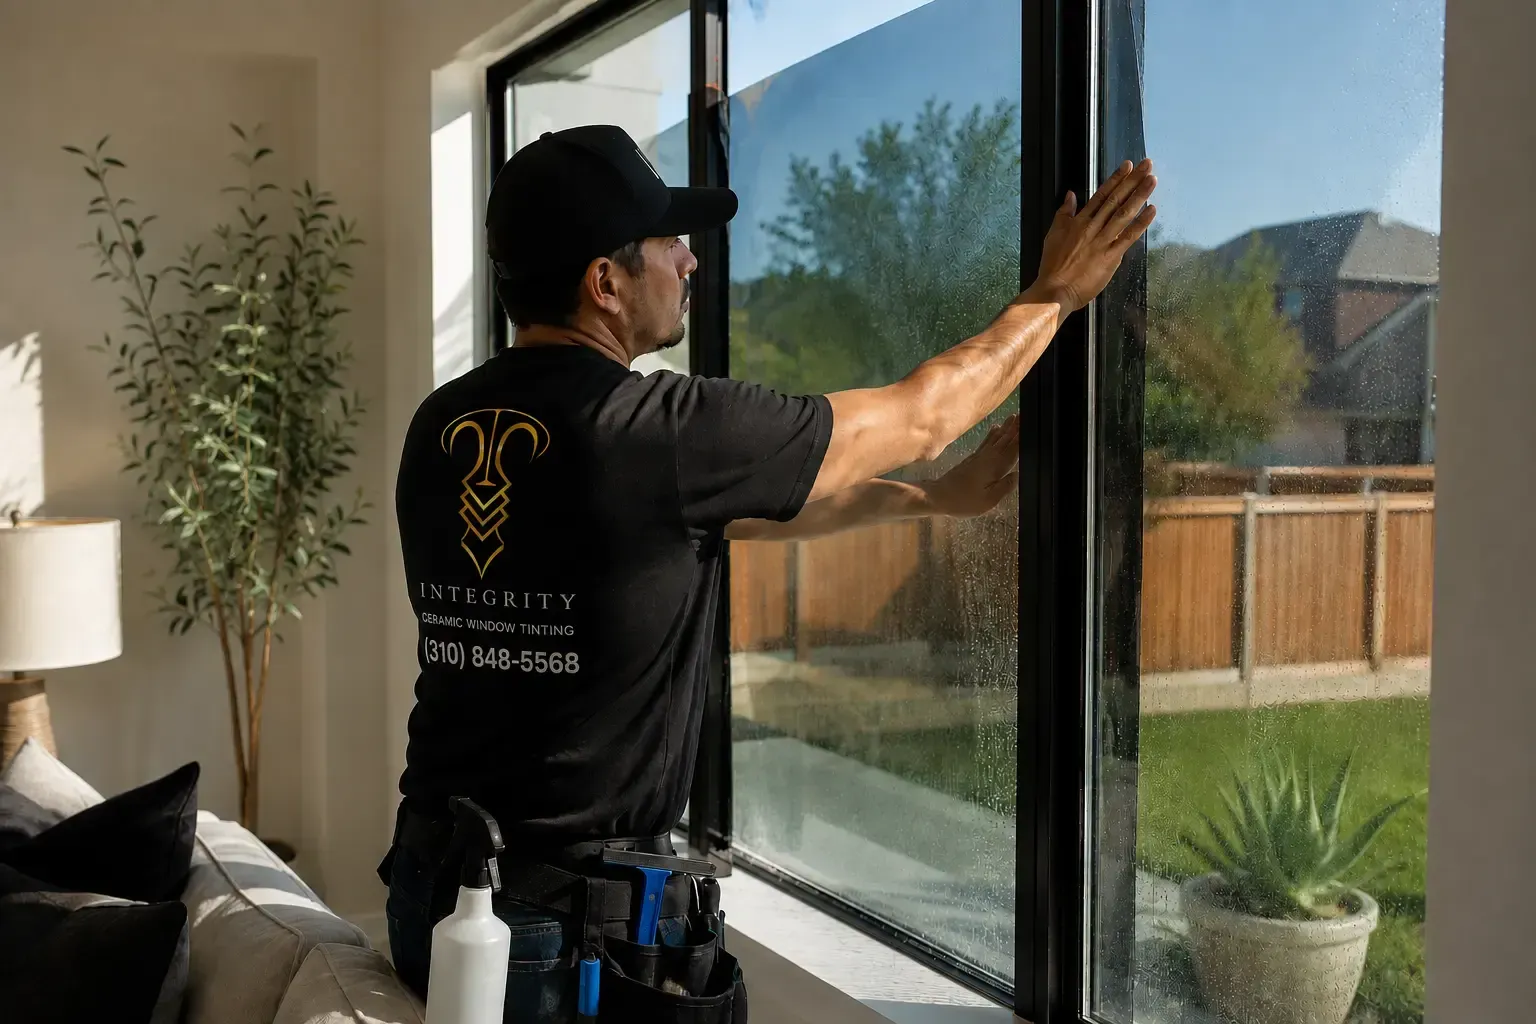
Misaligning the Film on First Attempt
Once the liner is removed, the clock starts ticking. Trying to reposition the film too many times can stretch or crease it.
Pro Tip: Mist your window generously with the slip solution. It gives you some wiggle room before things stick.
Mistake #4: Repositioning dry film often causes tears and wrinkles.
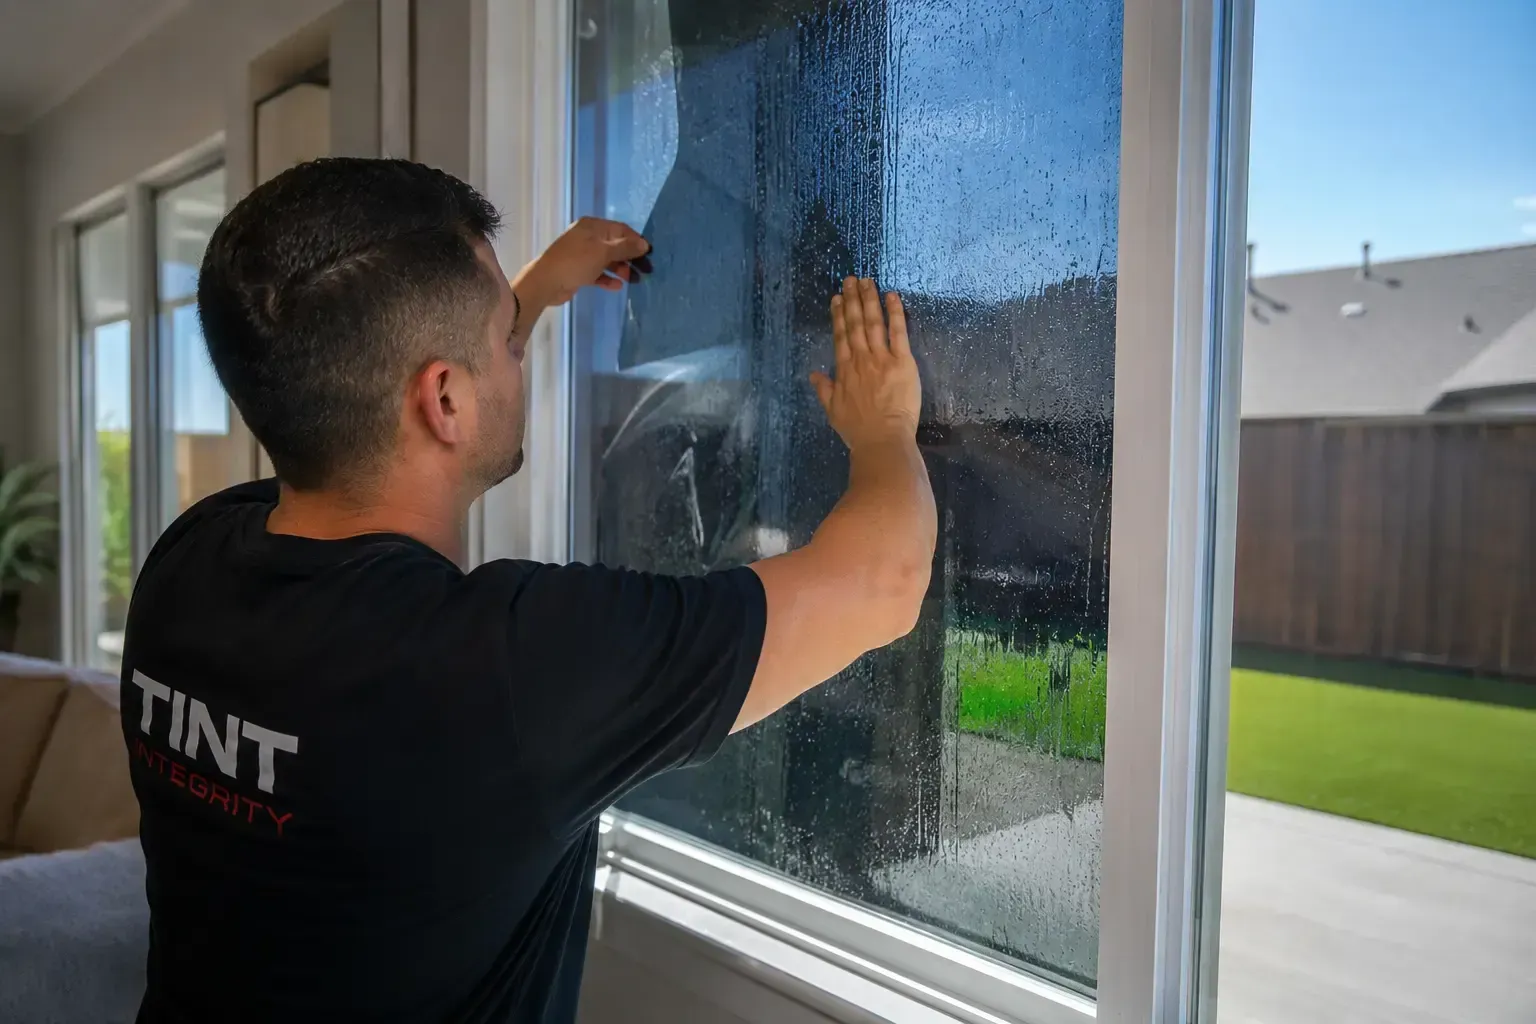
Using Too Much or Too Little Soapy Water
Soapy water acts as your buffer. Too little and the film sticks too early. Too much and the film won't stick at all.
Get your solution ratio right: 3–5 drops of baby shampoo per 32 oz. of water is the sweet spot.
Not Cutting the Film Accurately
DIY kits with uncut film require razor-precise cuts. One slip and you may end up trimming too much—or scratching your glass.
Use a straight edge and brand-new blade for every window.
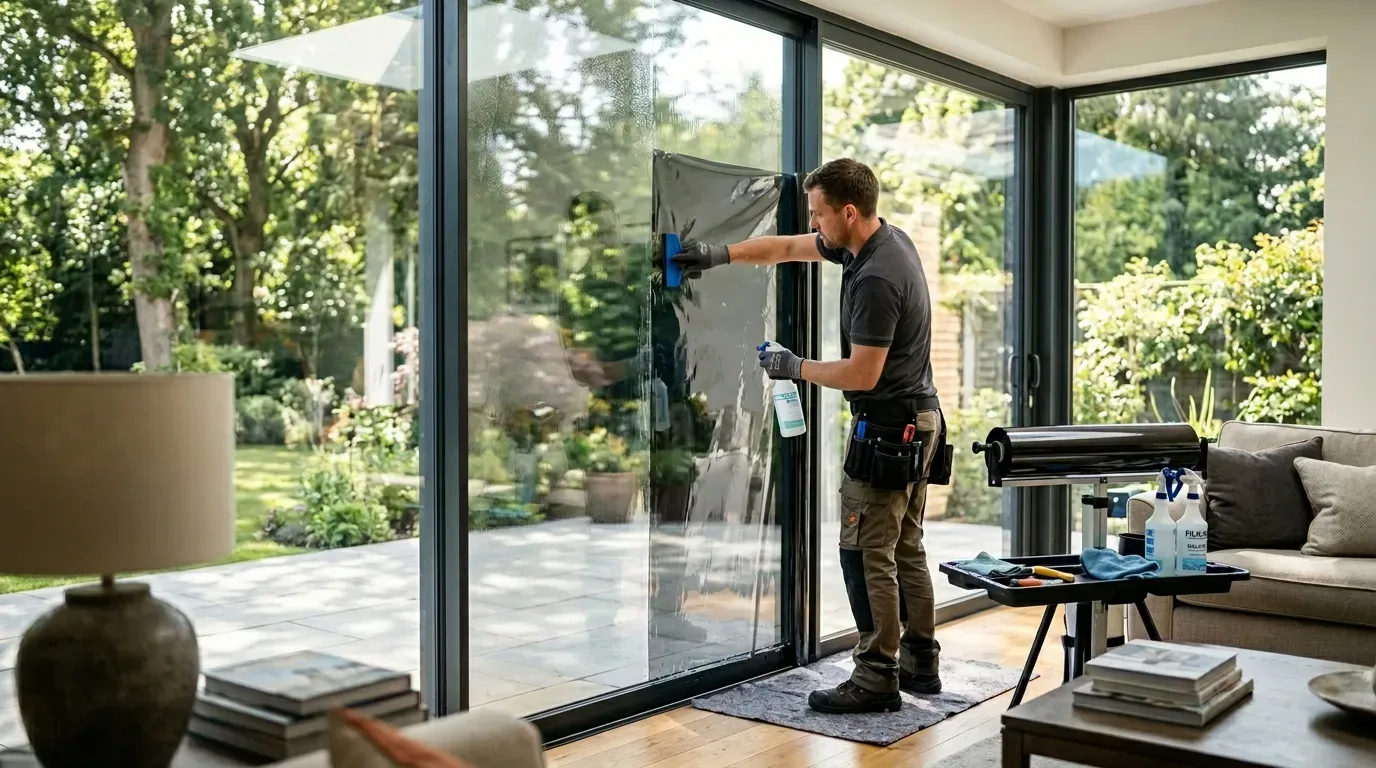
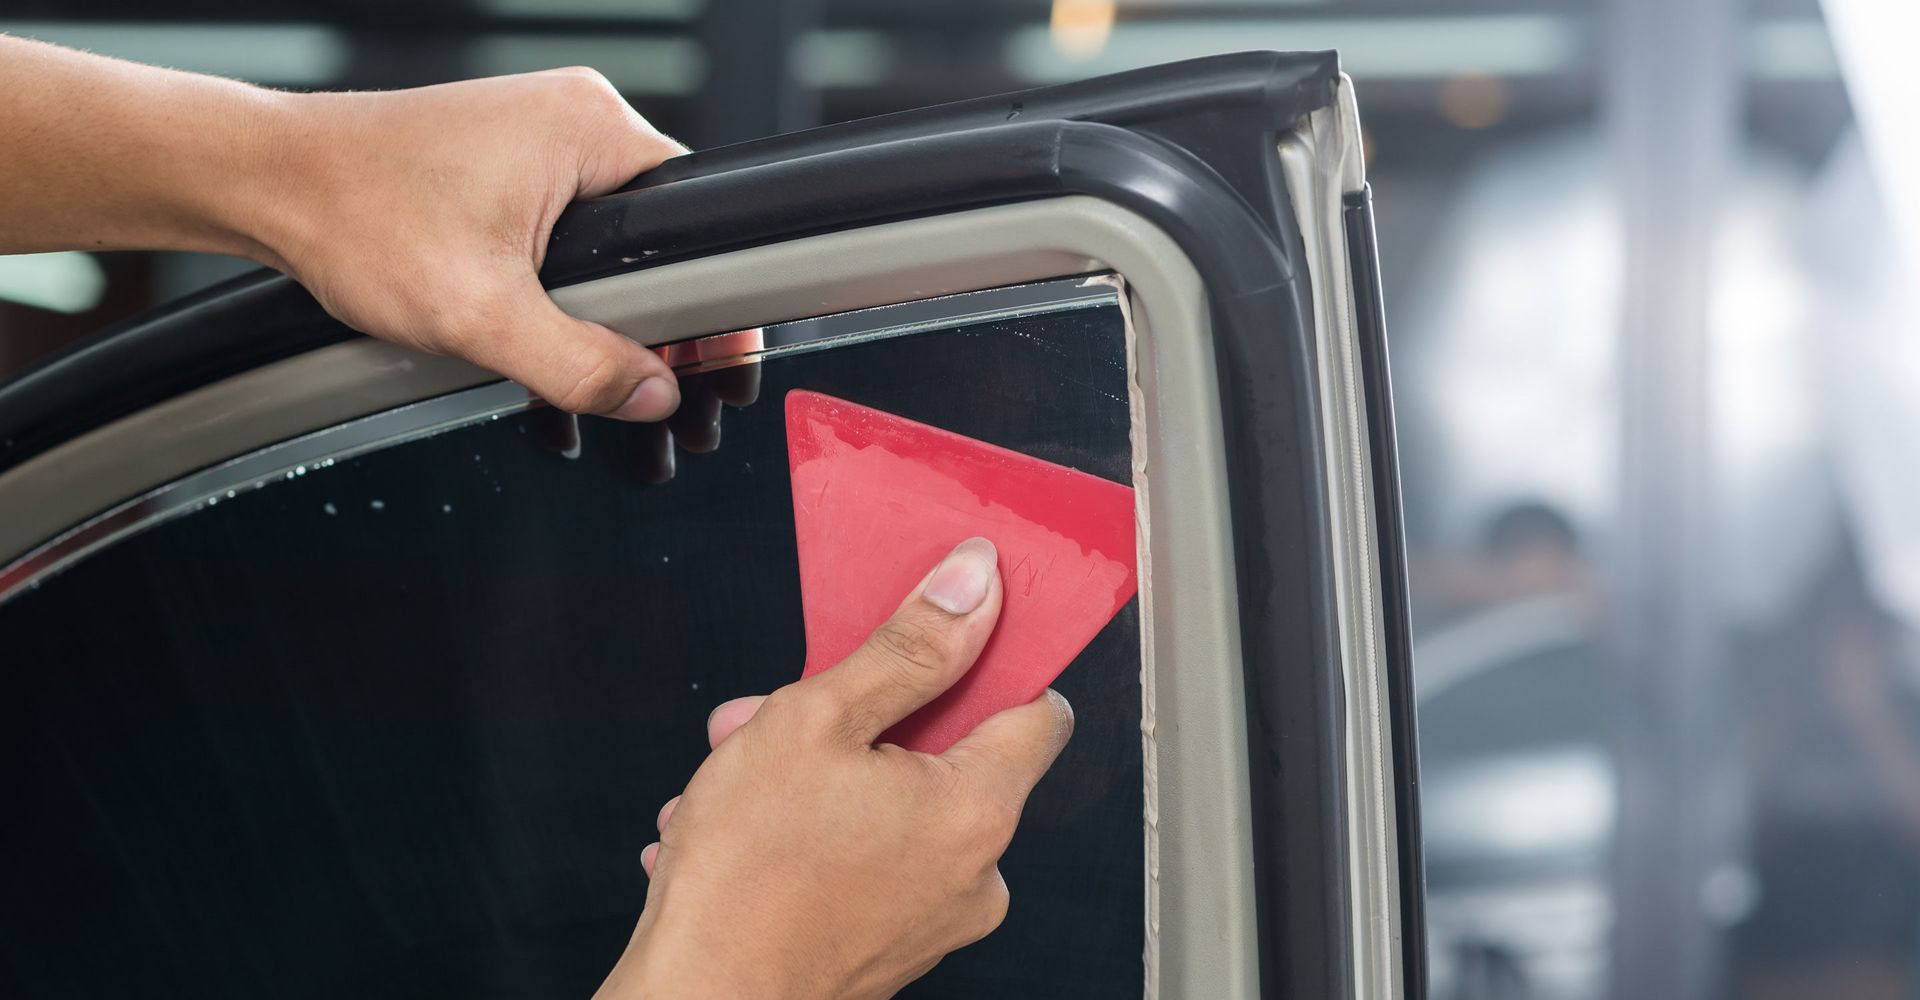
Skipping the Squeegee Step
Squeegeeing removes trapped water and air. Without it, even a well-aligned film will bubble later on.
Work from the center out in smooth, overlapping strokes.
Trapping Air Bubbles or Dust
Once dust or air is trapped, it’s game over. Some may escape with a pin poke, but many distort the finish permanently.
Not Using Heat Gun Correctly
A heat gun is crucial, especially for rear windows with curves. It helps the film conform and bond evenly.
Mistake #5: Overheating burns the film; underheating leads to wrinkles.
Not Drying the Film Properly
Film takes 3–7 days to cure, depending on weather. Avoid driving, rain exposure, or rolling down the windows.
Peeling the Liner Too Early or Too Late
If you peel the liner too early, the adhesive attracts dust. Too late, and your fingers may fumble the application.
Pro tip: Peel as you go.
Touching or Rolling Down Windows Too Soon
One of the most avoidable mistakes—and the most common. Always wait the full cure time.
Ignoring the Curing Period
Curing is non-negotiable. It allows the moisture to evaporate and the film to bond securely.
Failing to Check Edges for Peeling
Edges must be sealed tightly using hard cards and heat. Neglect this, and the film peels within days.
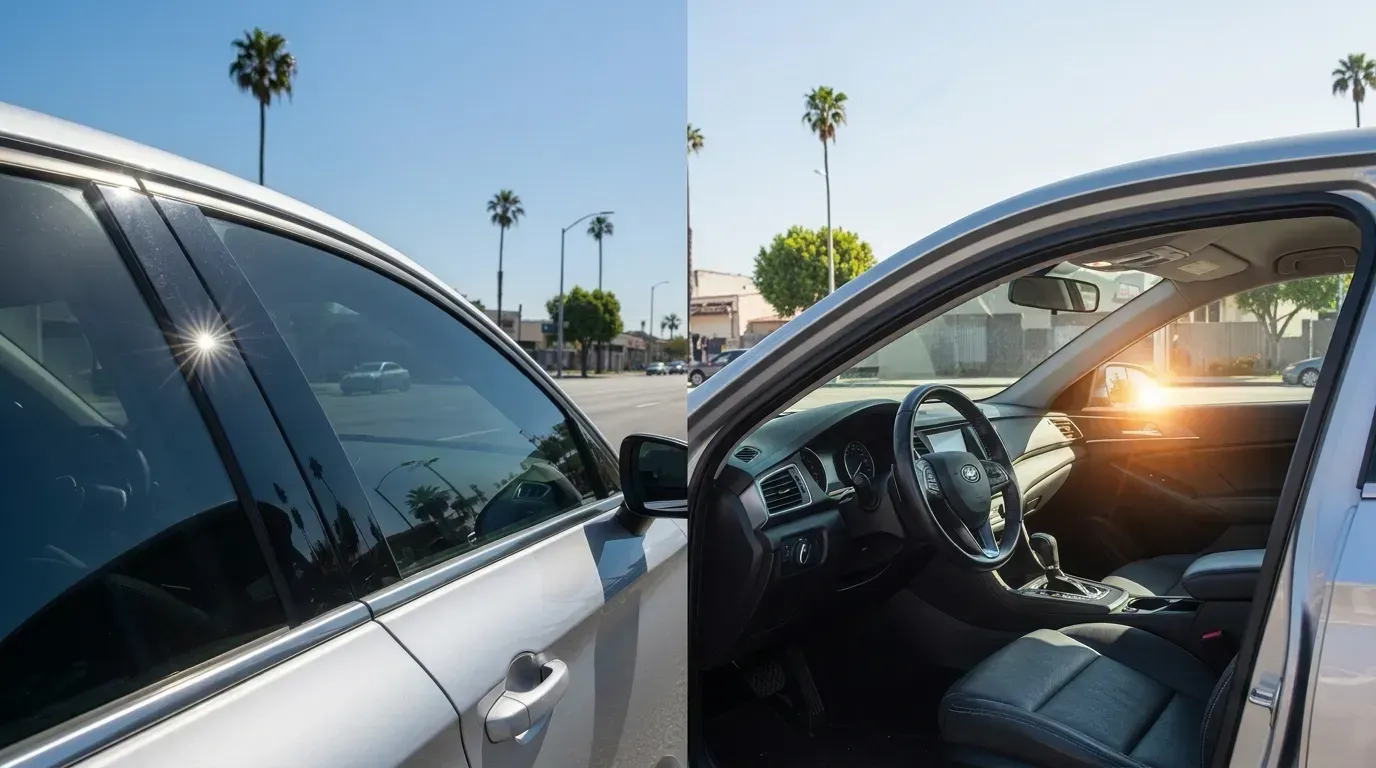
Visibility Issues from Improper Tinting
Incorrect installation can distort night vision, especially when bubbles form in your line of sight.
Illegal Tint Percentage Violations
A quick visit to a Window Tinting Service can help check and ensure compliance.
Insurance and Warranty Impacts
Improper tinting can void warranties and affect insurance if proven to obstruct visibility during an accident.
When to Consider Professional Help
Sometimes it's just better to hire a pro. If you're unsure, reach out via Contact.
How to Remove and Reapply Tint
If your first attempt didn’t go as planned, don’t stress—removal is totally doable. In fact, it’s a rite of passage for most first-time tinters.
Steps to Remove Window Tint:
- Steam it: Use a fabric steamer to loosen the adhesive.
- Peel slowly: Start from one corner and pull at a 45-degree angle.
- Clean the residue: Use ammonia-free adhesive remover or a vinegar solution.
Mistake #6: Ripping the film off quickly without steaming first can leave sticky residue that's a pain to remove.
When reapplying, make sure to use fresh film and new tools—reused film rarely adheres well the second time.
How to Fix Peeling or Bubbling Film
Not all is lost if you spot bubbles or edges curling up after a few days. Here's how to salvage it:
- Tiny bubbles? Use a pin to gently release trapped air and smooth over with heat.
- Edge peeling? Carefully lift and reapply using heat and a squeegee.
- Large issues? It’s often better to redo the panel entirely.
Remember, even seasoned pros make minor mistakes—it’s how you respond that counts.
When It’s Too Late to Save DIY Efforts
Sometimes, despite your best efforts, the film is beyond saving. You’ll know it’s time to wave the white flag when:
- Multiple windows are flawed.
- Visibility is compromised.
- The film has torn or discolored.
At this stage, professional tint removal and reinstallation might be your most cost-effective option. Consider scheduling with a Window Tinting Service to get the job done right the second time.
Cleaning Tinted Windows Safely
Proper maintenance is the secret to longevity. After installation:
- Wait 7 days before cleaning.
- Use ammonia-free glass cleaner.
- Avoid abrasive cloths—use microfiber only.
Stick to these steps, and your tint could last up to 10 years without fading or peeling.
How to Extend the Life of Your Tint
Prolong your tint’s lifespan with these simple habits:
- Park in the shade or use sunshades to prevent UV damage.
- Avoid harsh chemicals like bleach or acetone around your windows.
- Inspect edges periodically to catch and fix peeling early.
Mistake #7: Neglecting maintenance speeds up film deterioration, especially in sunny or humid climates.
Signs You Need a Replacement
Even if your tint was professionally installed, it won’t last forever. Look out for:
- Fading color
- Purple tinting (oxidation)
- Bubbling or peeling
- Scratches or cracks
Replacing tint early is better than waiting for it to obstruct your view or cause legal trouble.
Practice Before Full Installation
If you're committed to DIY, start with a spare piece of film or try the rear windshield first. It’s often flatter and more forgiving.
Watch and Learn from Tutorials
YouTube is your best friend. Search for your car model specifically—different vehicles require slightly different techniques.
Look for channels that:
- Have consistent, professional-quality videos.
- Show step-by-step instructions.
- Offer real-time application, not just highlights.
When to Call Contact for Help
If you’ve gone through 2+ kits and still aren’t getting the results you want—don’t keep throwing money at the problem. Connect with the pros. A trained technician will likely finish the job in under two hours, with perfect results.
FAQs
Is DIY tinting legal everywhere?
No. Tint laws vary widely by state or country. Always verify legal VLT (Visible Light Transmission) percentages.
Can I tint my windows without removing them?
Yes, most DIY kits are designed for in-place application, but it’s easier with windows that roll down or are removable.
What’s the best time of year to apply tint?
Spring or early fall. Avoid high humidity and extreme cold—both interfere with curing and adhesion.
How do I prevent bubbles when tinting?
Use generous slip solution, a high-quality squeegee, and work methodically from the center outward.
Can I apply new tint over old tint?
No. Always remove the old film first for a smooth, long-lasting finish.
Is it worth buying premium film for a DIY job?
Yes. Quality film is easier to work with, offers better UV protection, and resists bubbling or fading.
Wrapping It All Up with Pro Advice
DIY window tinting isn’t impossible, but it’s not as simple as peel and stick. The most common mistakes people make with DIY window tint kits come from underestimating prep, misjudging technique, and ignoring post-installation care.
If you’re determined, be methodical and don’t cut corners. But if you want guaranteed results, turning to a Window Tinting Service will save you time, effort, and ultimately, money.
By avoiding the blunders we've covered, you're already miles ahead of the average DIYer. Happy tinting!
Internal & External Link Suggestions
Internal Links (1 per anchor):