
Your Complete Guide: What to Expect from Start to Finish with Expert Window Tinting Services
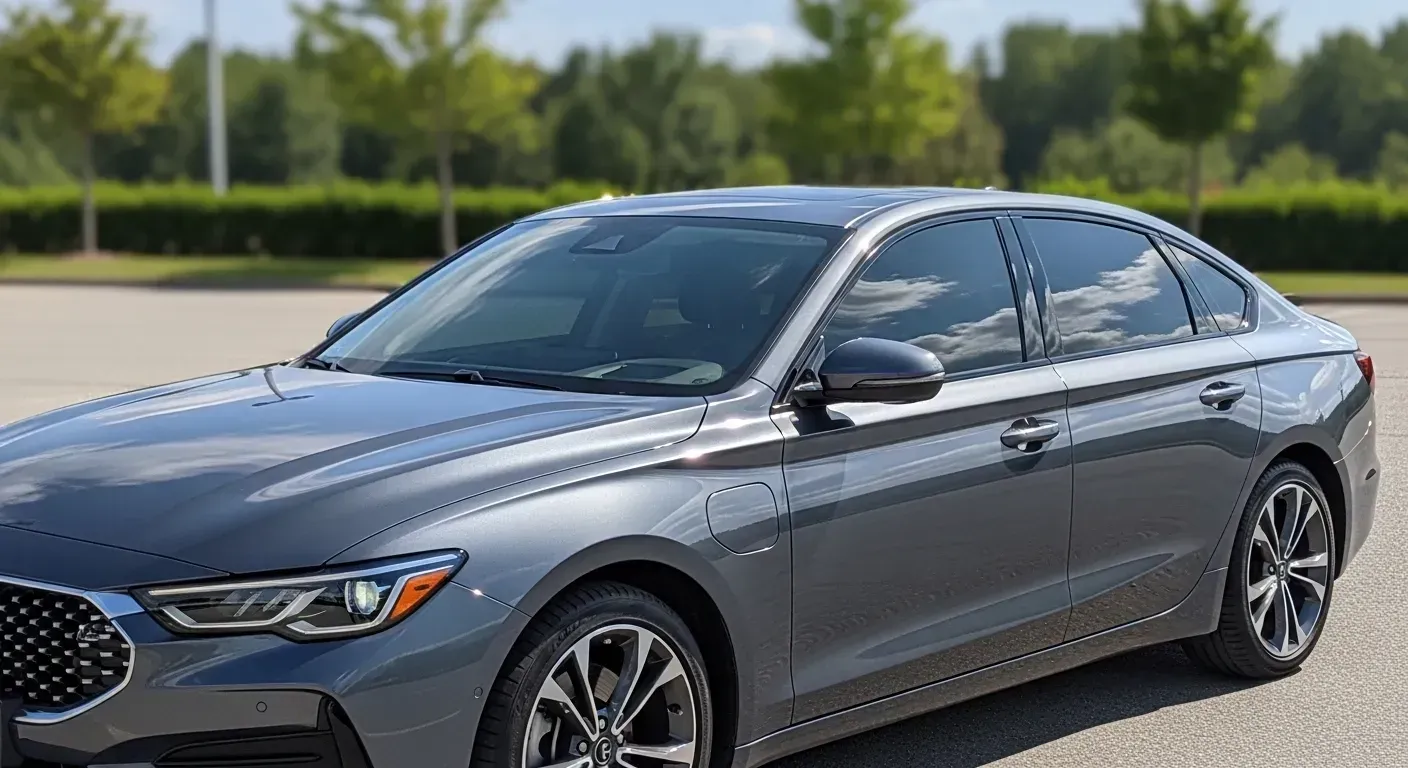
Window tinting is one of the most popular and effective upgrades you can make to your vehicle. It enhances aesthetics, provides privacy, protects your interior from harmful UV rays, and helps keep your car cooler. But if you've never had it done before, the process can seem like a bit of a mystery. What really goes on behind the bay doors? How do you go from clear glass to a flawless, custom finish?
Understanding the journey from start to finish not only demystifies the process but also helps you appreciate the skill, precision, and technology involved in a professional installation. Here at Tint Integrity, we believe in complete transparency. We want you to feel confident and informed every step of the way. This comprehensive guide will walk you through exactly what to expect when you choose expert window tinting services, from the first phone call to driving away in your newly upgraded vehicle.
Phase 1: The Initial Consultation & Choosing Your Tint
The first step in your window tinting journey is the consultation. This is a crucial stage where you'll discuss your needs, goals, and options with a professional. A quality shop won't just sell you a product; they'll help you find the perfect solution for your specific situation.
Discussing Your Goals
Why are you tinting your windows? Your answer will guide the recommendations. Common goals include:
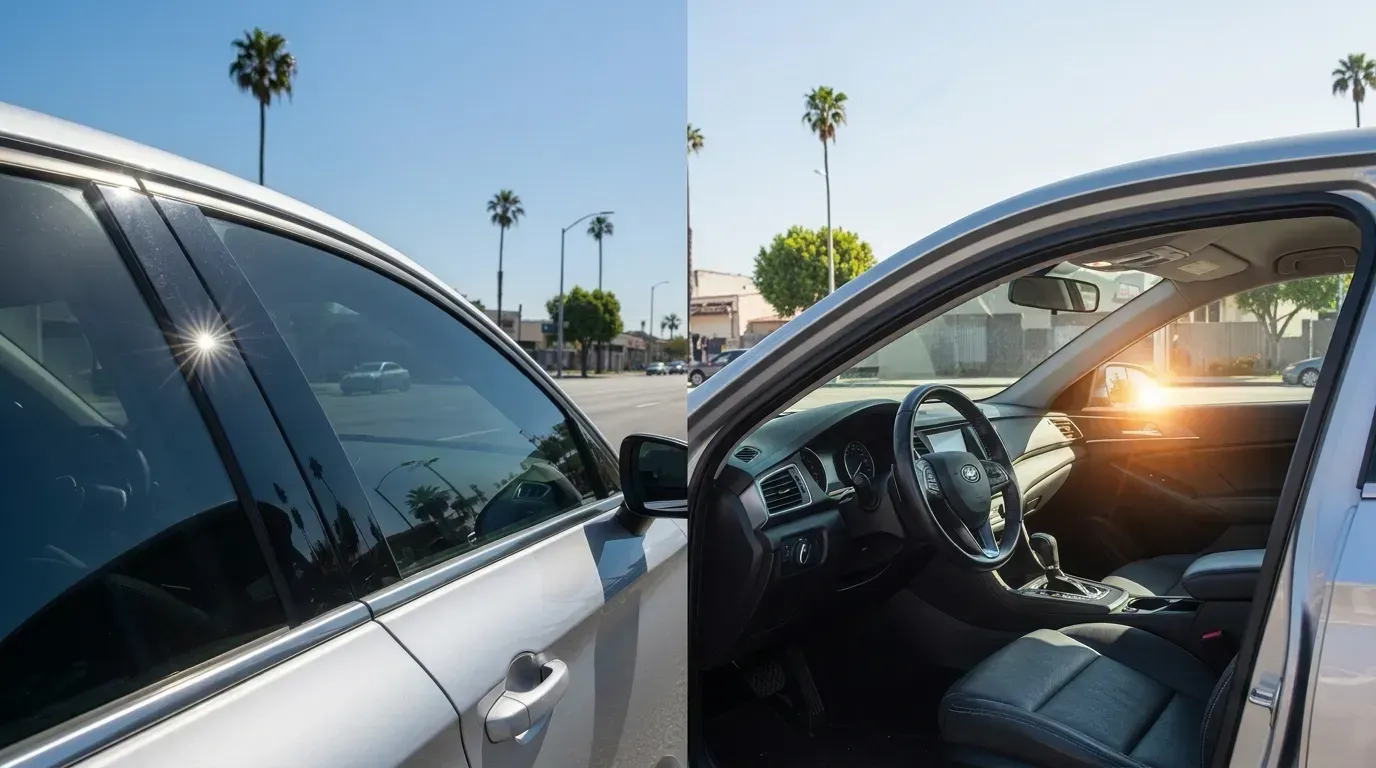
- Heat Rejection: To keep your car's interior cool and comfortable, especially in hot climates.
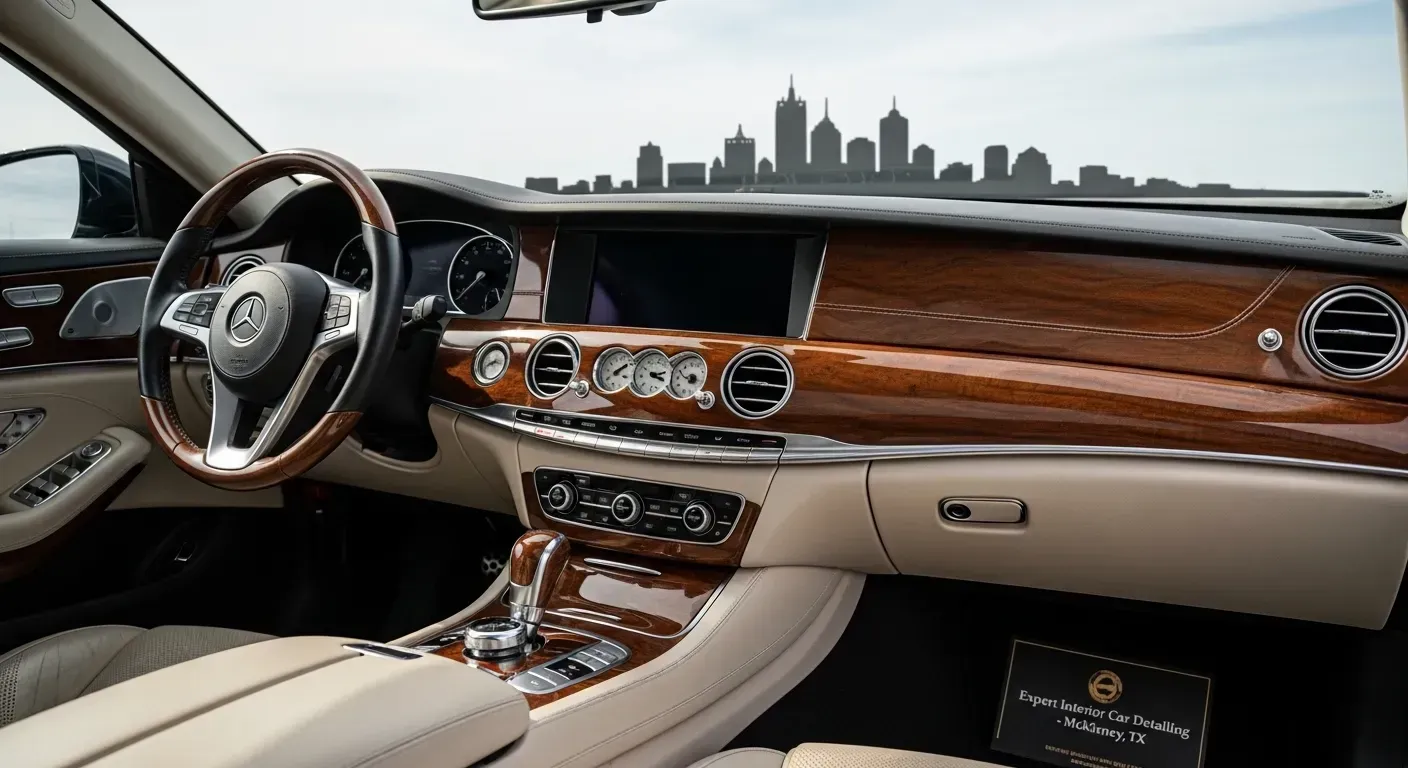
- UV Protection: To protect your skin and prevent your car's dashboard, upholstery, and trim from fading and cracking.
- Privacy: To secure the contents of your vehicle from prying eyes.
- Glare Reduction: To improve visibility and reduce eye strain while driving during the day or at night from headlights.
- Aesthetics: To achieve a sleek, custom look for your vehicle.
Understanding Tint Types
Not all window films are created equal. During your consultation, an expert will explain the primary types of automotive window films available. Here at Tint Integrity, we prioritize quality materials that deliver long-lasting performance.
- Dyed Film: This is the most economical option. It uses layers of dye to absorb solar heat and provides a dark, non-reflective appearance. While it's great for privacy and aesthetics, it offers the least heat rejection and can fade to purple over time.
- Carbon Film: A significant step up, carbon film contains carbon particles that are highly effective at blocking infrared light (the primary source of heat). It has a true black, matte finish that never fades and offers superior heat rejection and durability compared to dyed film.
- Ceramic Film: This is the premium, top-of-the-line option. Ceramic films use non-conductive, non-metallic ceramic particles to block a massive amount of solar heat and UV rays without interfering with electronic signals (GPS, satellite radio, cell phones). It offers the highest clarity, durability, and heat rejection available.
Selecting the VLT (Visible Light Transmission)
VLT is the percentage of visible light that passes through the window film. A lower percentage means a darker tint. Your consultant will show you samples and explain the local laws and regulations regarding tint darkness for different windows on your vehicle (e.g., front side windows vs. rear windows). This ensures your car remains street-legal.
Getting a Transparent Quote
Once you've discussed your needs and chosen a film, you'll receive a detailed quote. This should clearly outline the cost of the materials and labor for your specific vehicle. A professional shop will provide a firm price with no hidden fees. This is the perfect time to ask any final questions before moving forward. Ready to start your consultation? Contact us today to get a personalized quote.
Phase 2: Scheduling and Preparing for Your Appointment
After you've approved the quote, the next step is to book your installation appointment. A typical window tint installation on a standard sedan takes between 2 to 4 hours. Larger vehicles like SUVs or those with more complex windows may take longer.
Pre-Appointment Instructions
To ensure the best possible result, you may be asked to do a simple preparation before bringing your car in: give your car a basic wash. While the installers will meticulously clean the windows themselves, arriving with a vehicle that isn't covered in a thick layer of dirt or mud helps maintain the cleanliness of the installation bay. It prevents excess contaminants from becoming airborne and potentially getting trapped under the film.
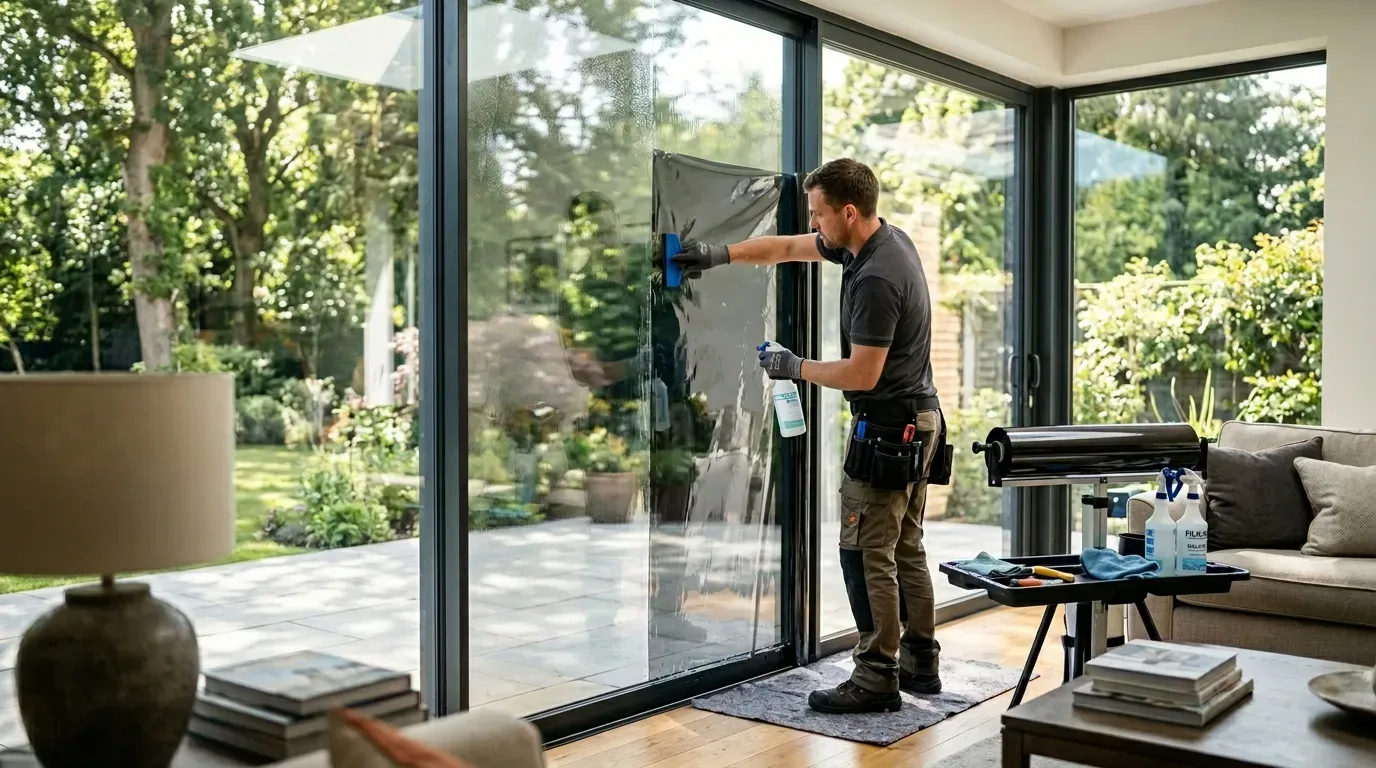
Phase 3: The Installation Day – Where the Magic Happens
This is the core of the process, where skilled technicians apply their craft. A professional installation is a multi-stage procedure that requires a clean environment, specialized tools, and immense attention to detail.
Step 1: The Controlled Environment
You'll notice that a professional tint shop, like Tint Integrity, performs installations in a dedicated, enclosed bay. This isn't just for show. A clean, well-lit, and controlled environment is critical to minimizing dust and airborne contaminants, which are the number one enemy of a flawless tint job.
Step 2: Vehicle & Glass Preparation
Your vehicle is carefully brought into the bay. Technicians may place protective coverings on your door panels and dashboard to protect them from the water-based solution used during application. Then, the most critical preparation begins: the glass cleaning. This is not a simple wipe-down. The glass is deep-cleaned on both the inside and outside using special solutions and tools like scrub pads and razor blades to remove any and all microscopic dirt, grime, oil, or adhesive residue.
Step 3: Precision Film Cutting
With the glass perfectly clean, the film is prepared. Modern, high-end shops use a computer plotting system. Your vehicle's make, model, and year are entered into a software program that contains precise patterns for every window. A plotter then cuts the film to these exact specifications. This method, which we use at Tint Integrity, ensures a perfect fit with no risk of a blade ever touching your glass.
Step 4: Heat Forming the Film
Car windows, especially rear windshields, have complex curves. To make a flat sheet of film conform perfectly to these curves, technicians use a technique called heat forming or heat shrinking. The film is laid on the outside of the glass, and a heat gun is used to carefully heat the film, causing it to shrink and mold precisely to the window's shape. This is a highly skilled step that prevents a Telltale sign of a poor tint job: 'fingers' or gaps along the edges.
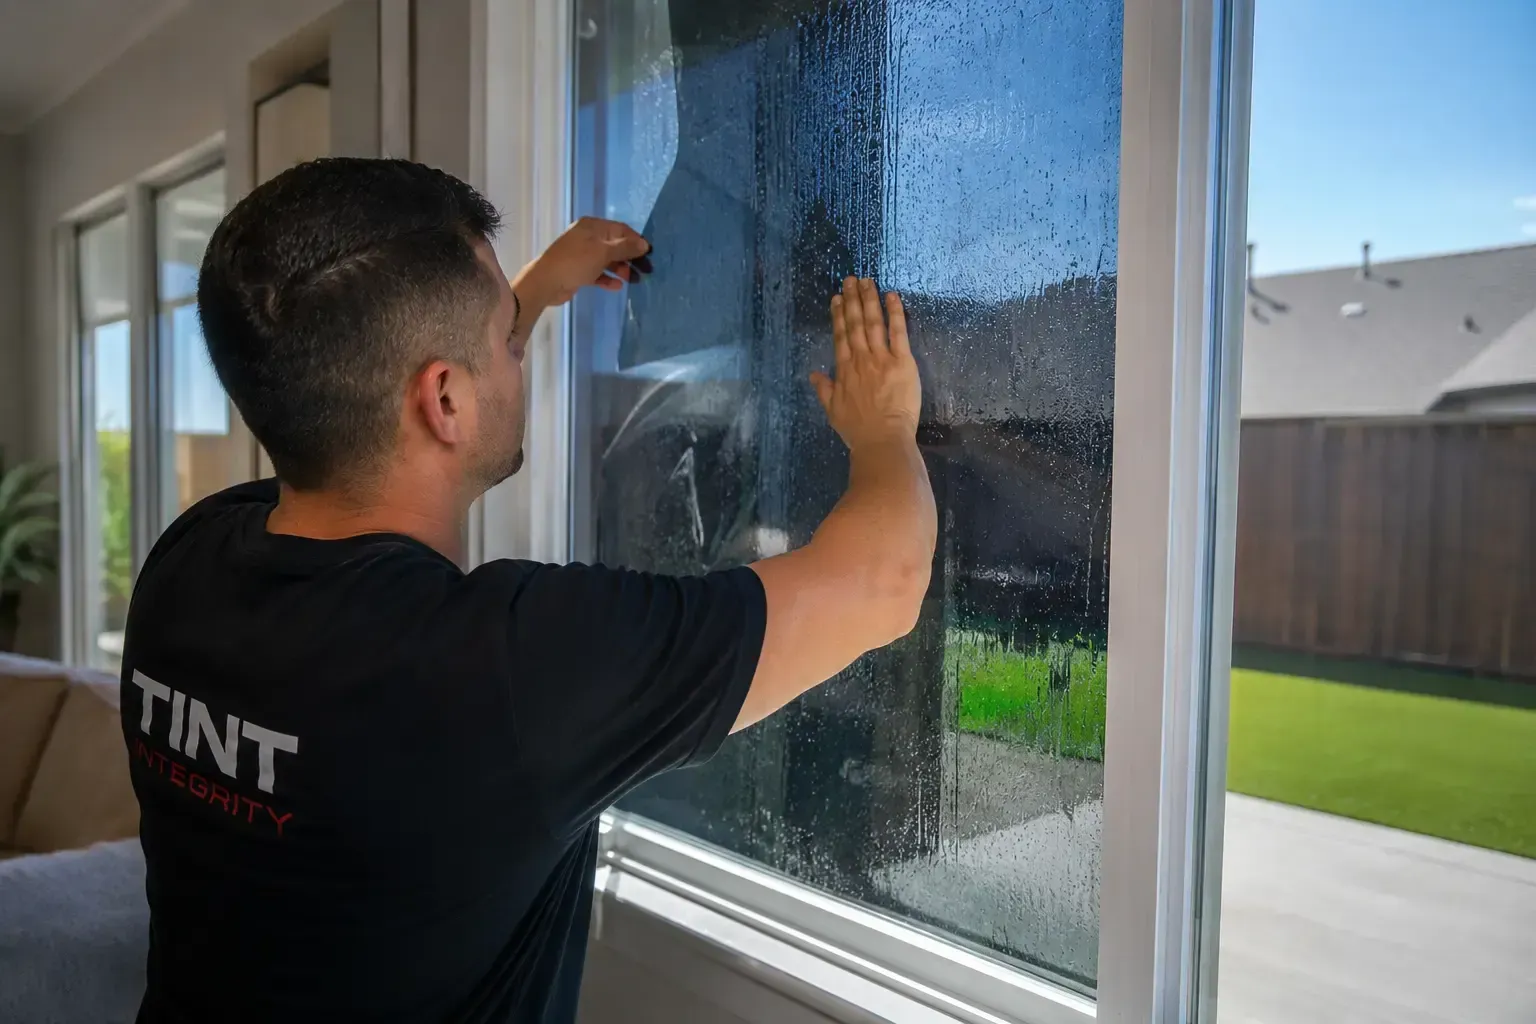
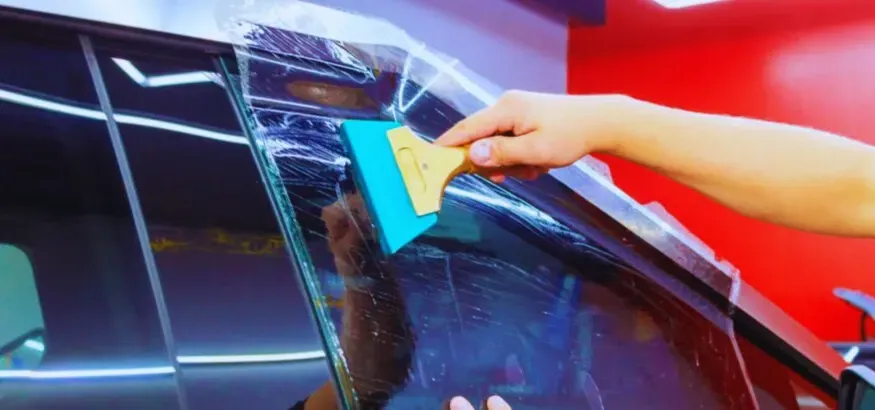
Step 5: The Wet Application
Now for the actual application. The inside of the window is sprayed with a special mounting solution (a mix of water and a slip agent). The protective liner is peeled from the adhesive side of the pre-shaped tint, which is also sprayed. The technician carefully places the film onto the inside of the glass. The solution allows them to slide the film into its perfect position.
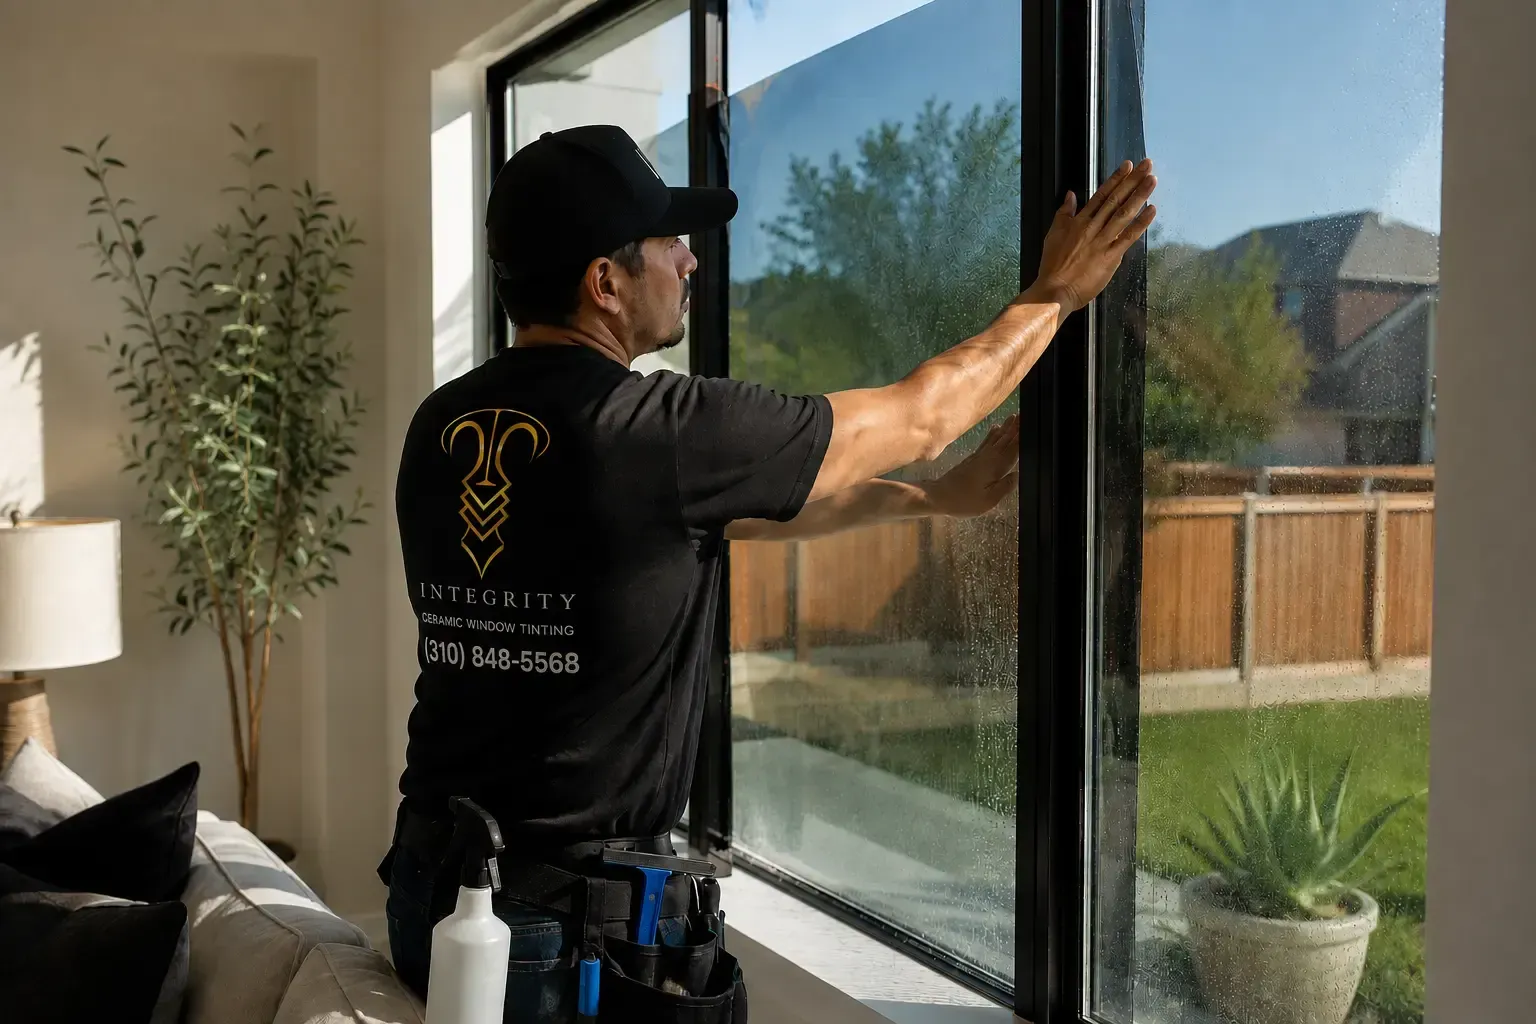
Step 6: Squeegee and Final Touches
With the film in place, the most recognizable part of the process begins. Using various types of professional-grade squeegees, the technician meticulously pushes the mounting solution out from between the film and the glass. They work from the center outwards, applying precise pressure to ensure every drop of water and every air bubble is removed. This creates the strong adhesive bond and crystal-clear finish. Special attention is paid to the edges to ensure they are perfectly sealed.
Step 7: Final Quality Control Inspection
After all windows are tinted, a thorough final inspection is performed. The technician will check every inch of their work, looking for any imperfections, edge gaps, or remaining bubbles. They'll clean up the windows and the vehicle's interior, leaving it in pristine condition. Our commitment at Tint Integrity is to deliver perfection, and this final check is our promise to you.
Phase 4: Post-Installation – Curing and Long-Term Care
Your car looks amazing, but the process isn't quite over. The tint needs to 'cure,' and following proper aftercare instructions is vital for the longevity of your investment.
Understanding the Curing Process
Even after a perfect squeegee job, a microscopic layer of moisture will remain between the film and the glass. This is normal. Over the next 3 to 5 days (sometimes longer in colder, more humid weather), this moisture will evaporate through the pores of the film. During this time, you might notice a slight haziness or small water pockets. Do not be alarmed! This is part of the curing process. As the moisture evaporates, the haze will clear, and the adhesive will fully bond to the glass.
Crucial Aftercare: Do's and Don'ts
To ensure your tint cures properly and lasts for years, follow these simple guidelines. All our window tinting services come with a full breakdown of these instructions.
| Action | Guideline |
|---|---|
| DO NOT Roll Down Windows | Keep your windows rolled up for at least 3-5 days after installation. Rolling them down too soon can catch the edge of the film and cause it to peel. |
| DO Clean Carefully | After the tint has cured, clean the inside of your windows with a soft microfiber cloth and an ammonia-free cleaner. Ammonia can break down the film's adhesive over time. |
| DO NOT Use Abrasives | Never use abrasive pads, scrapers, or harsh chemicals on your tinted windows. |
| DO Be Patient | Allow the curing process to complete naturally. Do not try to push out any water pockets yourself, as this can damage the film. |
Conclusion: A Process Built on Precision and Quality
As you can see, professional window tinting is far more than just applying a dark film to glass. It's a meticulous, multi-step process that combines advanced technology with hands-on craftsmanship. From the detailed consultation and material selection to the pristine preparation, precision cutting, and expert application, every stage is designed to deliver a flawless, durable, and effective result.
By choosing a reputable installer like Tint Integrity, you're not just buying a product; you're investing in a professional service that guarantees quality from start to finish. You can drive away with confidence, knowing that your vehicle is protected, your comfort is enhanced, and your investment will last for years to come. Explore our work and learn more about our commitment on our homepage.
Frequently Asked Questions
How long does a professional window tint installation take?
For a standard sedan, the process typically takes between 2 to 4 hours. For larger vehicles like SUVs or trucks, or cars with particularly complex window shapes, it could take a bit longer. A quality installation is never rushed.
What is the difference between ceramic tint and other types?
The main difference is performance. Ceramic tint uses advanced ceramic particle technology to reject a significantly higher amount of heat and UV rays compared to standard dyed or carbon films. It does this without using metal, so it won't interfere with any of your vehicle's electronic signals, and it offers superior clarity and longevity.
Can I roll my windows down immediately after they are tinted?
No. You must wait at least 3 to 5 days before rolling down your windows. The film needs this time for the adhesive to fully cure and bond to the glass. Rolling them down prematurely can cause the film to lift and peel at the edges.
Is window tinting legal?
Yes, but regulations on how dark you can tint your windows vary by state and even by which window on the car is being tinted (e.g., windshield vs. side windows). A professional installer will be knowledgeable about your local laws and ensure your tint job is fully compliant.